Printing
This page describes the process for configuring the printer and performing the actual printing.
Setup
Before starting the print, it is important to review the print settings.
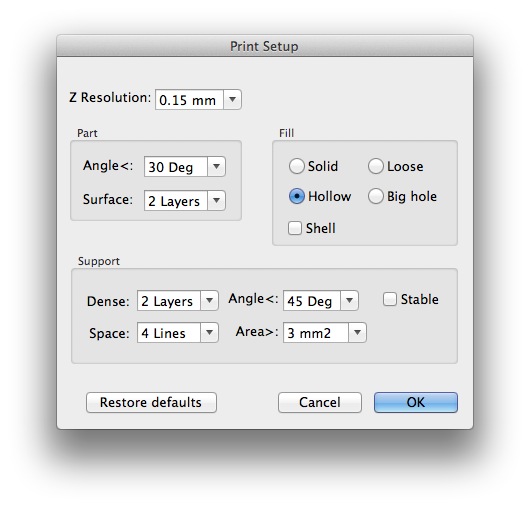
In the 3D Print menu, select “Setup…” to open the print setup window.
This window has settings that define attributes of the model and the support material.
Part section, Surface menu: This controls the number of layers of plastic that are used for the surfaces of the model. A higher value will give the model thicker, stronger walls but will take longer to print.
The fill selection controls the density of the lattice that fills in the interior of the model. The solid setting is nearly solid. Hollow, loose, and big hole are the remaining options, in descending order of density. A denser fill type will yield a stronger part and make the model’s flat horizontal surfaces neater, but will take longer to print.
The support section controls the generation of support material. The most important control in this area is the angle control. This angle is the minimum angle from horizontal that a surface must have to get support material. A larger value will mean that overhanging surfaces that are closer to vertical will be supported. Overall, increasing this value increases the amount of overhangs that are supported.
Click OK and return to the main menu.
Now is the time to review the pre-printing checklist:
- Verify that the perforated printing surface is installed and secured.
- Verify that the zero height is set correctly.
- Verify that the platform has been leveled.
- Verify that the print head is above the center of the platform. (When the printer starts, it will move the print bed up to the zero position. If the print head is above one of the corners where a binder clip is installed, the nozzle will crash into a binder clip. This should be avoided.) You can use the maintenance window to move the print head to the center.
Platform preheating
Heating the platform before starting the print can help the model remain attached to the platform during printing. If your model is large, or if you have had difficulties with your model coming loose from the platform, preheating the platform may help.
In the 3D Print menu, select “Table heat 15 mins”. This will start the preheating.
In the maintenance window, you can monitor the heating process. When the temperature stabilizes at 80-100 °C, the table is ready to print.
Starting the job
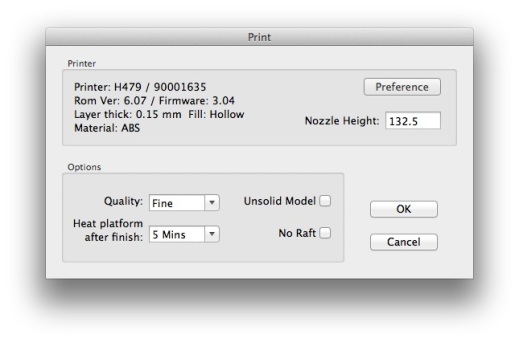
Click on the 3D Print button in the toolbar and a window will appear with more options for the print job.
The quality setting controls the speed with which the print head moves. Quality levels that are lower than fine will result in a faster print, but they may yield a messier model, especially if the model has overhangs.
Heating the platform after the print finishes is not necessary. According to the manual, models are easier to remove from the perforated printing surface when they are cool.
Click the OK button. The software will slice the model into layers and send them to the printer. It will then display a window with the estimated plastic consumption and print time of the model. These time estimates have been accurate in testing. After you dismiss the window, the printer will begin printing.
During printing
The maintenance window displays the printing status in its title bar.
Once printing has begun, the computer can safely be disconnected from the printer.
If anything goes wrong, there are three ways of stopping the printing:
- Clicking on the pause button in the maintenance window (this option allows the print to be resumed if desired)
- Holding down the initialize switch on the printer for a few seconds
- Disconnecting power from the printer by turning off the power switch or unplugging it
After printing
To protect the print bed from being pushed out of level during the model removal process, it is necessary to remove the perforated print surface from the printer before removing the model from the perforated print surface.
Use caution with these steps, because the print bed and perforated print surface will be hot (around 100° C / 200° F). Wearing gloves may be helpful.
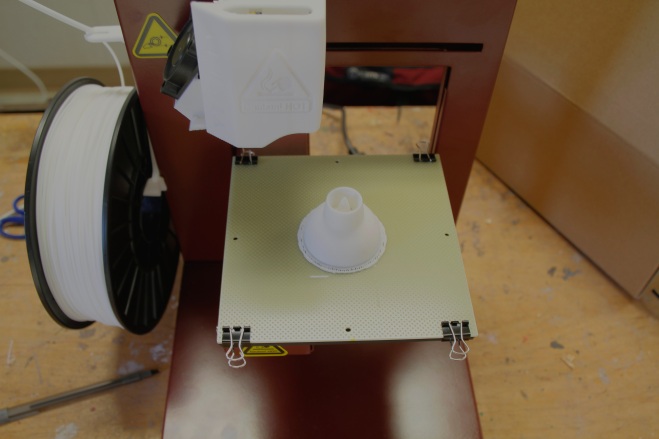
When the printing has finished, the print head will move to the left and the print bed will move to the near position (toward the front of the printer). In this position, it is easy to remove the two front binder clips.
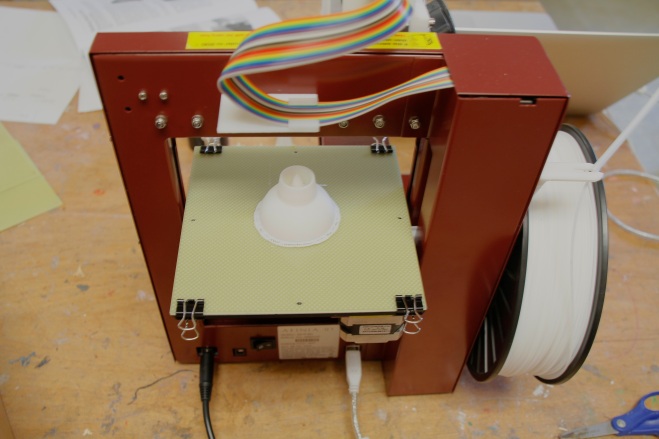
To remove the two rear binder clips, you will need to move the platform back. Connect the printer to a computer, open the Afinia software, open the maintenance window, and click the FL (far left) button to move the table back.
In this position, the remaining binder clips can easily be removed.
Remove the perforated print surface from the printer, then remove the model from the surface. Letting the model and surface cool may make the model removal easier.


